Sunday, September 22, 2013

Earl Grey Eclairs

 Junior year, or at least the first 2 weeks of it, has been great and bad and wonderful and terrible and confusing and musical and most of all, busy. I've been baking, occasionally, but it's usually to de-stress, and by the time I'm done I have an entirely new to-do list and I can't even think about sitting down to blog.
 So now, in the 23 minutes I have left before the Emmys start, I give you these eclairs. They were an idea that came to me out of the blue, and somehow, perhaps magically, the baking gods were on my side and they worked out just as I had wanted them to. I only had to make them twice. ;)
 These are a simple choux pastry, hollow inside and perfect for filling with the creamy custard flavored with earl grey tea. The tea is one of my favorite drinks in the world - I have it almost every morning before school, even though it may make me seem like I'm 90 years old - and I even brought home a giant tin of it from England. On top, instead of a traditional fondant glaze, there's a thin layer of sweet cookie dough.
 This layer of cookie dough does several things. First, it makes the whole dessert something totally different, which is always nice. Second, it makes the eclairs beautiful - the cracked, sugar-dusted top is enough to make anyone's mouth water. Third, it adds texture to an otherwise fairly soft dessert: the topping is crispy and crumbly at the same time, and goes perfectly with the smoothness of the cream. Lastly (and maybe most importantly), it kind of melts into the choux and makes the whole thing insanely buttery, and wonderfully reminiscent of tea and cookies. And perfect.
  Enjoy!
 Earl Grey Eclairs
(adapted from Ladurée Sucré and Kitchen Wench)

Biscuit Topping
100g unsalted butter, very cold
125g cake flour
125g caster sugar
1 tsp pure vanilla extract

Choux Pastry
120g cake flour
100mL whole milk
100mL water
10g caster sugar
1 pinch salt
80g unsalted butter
4 large eggs

Lightened Crème Pâtissière
1/4 cup loose earl grey tea leaves (or about 5 tea bags)
400mL whole milk
4 egg yolks
80 caster sugar
30g corn starch
25g unsalted butter
1 cup double cream

For the biscuit topping:
Cut the chilled butter into small pieces, then mix together with the flour, sugar and vanilla till well combined.
Bring the mixture together into a ball by hand and refrigerate for an hour.
For the choux:
While the topping mixture is chilling, preheat the oven to 350 degrees F and melt the butter into the milk in a saucepan and bring to a simmer.
Add the flour, sugar and salt all at once and rapidly mix with a wooden spoon till the dough comes together into a ball and there is a thin layer forming on the bottom of the pan.
Transfer the dough to a bowl and mix in the eggs with a wooden spoon, one at a time, till the dough is smooth and glossy.
Fill a large piping bag with a 1″/ 2.5cm round tip and pipe out long shapes about 10cm long onto a tray lined with baking paper. Make sure to leave about 10cm between each pastry to leave room for them to spread.
 Once this is done, take the biscuit topping out of the fridge and lightly knead to soften, then place between two sheets of non-stick baking paper or plastic wrap and roll flat to about 1-2mm thick. Cut into rectangles about 4cm x 12cm, to make sure that it completely covers the eclairs and hangs off the sides.
Place each rectangle of biscuit topping on top of each eclair, then bake for 10 minutes, then prop the oven door open about 3mm (the handle of a wooden spoon is great for this) and allow to bake for another 20 minutes or till they are golden on top and fully puffed up. Set aside to cool before filling.
For the cream:
Whisk together the egg yolks and sugar, then add the corn starch and whisk till mixture becomes pale yellow and thickened.
Set aside and scrape the vanilla into the milk and bring to a simmer.
Slowly pour the milk into the egg yolk mixture in a thin stream while constantly beating.
Pour back into the saucepan and bring to a boil while whisking, making sure to scrape down the sides.
Leave the mixture to cool for about 10 minutes so that it’s no longer boiling, then briskly whisk in the butter till the mixture is smooth and glossy.
Scrape the mixture into a non-reactive bowl and keep tightly covered with plastic wrap till ready to use. Once you’re ready to fill the eclairs, beat the cream to firm peaks then carefully mix together the cream and the pastry cream with a spatula.
Fill a piping bag with the mixture then pipe each eclair with the pastry cream in three places and dust with icing sugar before serving.
Best eaten within a day of filling (unfilled pastries can be stored in an airtight container for up to one week).
   -makes about 20 eclairs

Friday, September 13, 2013

Homemade Indulgences: Tart Pinkberry!

   Welcome to a new series here at Sophia's Sweets! I like to call it "Homemade Indulgences;" the idea is basically to re-create some of my favorite store-bought treats at home.
   Choosing a recipe to start with was easy. (By the way, sorry for the back-to-back ice cream posts - I'm trying to get them in while the weather is warm enough!) As any of my friends (or family) will tell you, I am completely obsessed with frozen yogurt. It's super yummy, and low-fat enough to pass as healthier than ice cream. For dessert, I love mixing flavors and crazy toppings, but sometimes I just want a simple snack. One of my favorites is the classic plain/tart frozen yogurt, topped with fresh fruit. It turns out, it's SUPER easy to make at home!
  No cooking of custards, or even pulling out of blenders, is required. Let it go for a spin in the ice cream machine, and you're all set! I loved this right after it was churned the best, but it was great after hardening for a few hours too. You'll just have to microwave it for a few seconds to get it back to that soft, creamy texture.
  I've been enjoying this with fresh berries and a drizzle of honey. Not only is it cheaper than one of New York's many frozen yogurt chains ($5 cups of yogurt start to add up...), but it also isn't full of various preservatives and other unpronounceable ingredients. And it tastes just like store-bought. I found myself a new favorite!
  Enjoy!
Tart Pinkberry
(slightly adapted from Food Network)

2 cups plain whole-milk yogurt
2 cups plain nonfat or reduced-fat Greek yogurt
1/2 cup superfine sugar
3 tablespoons light corn syrup
1 teaspoon vanilla extract or 1/4 teaspoon vanilla bean paste
Fresh fruit or other toppings (like honey), for garnish

Whisk both yogurts, the sugar, the corn syrup and the vanilla in a bowl until combined. Pour into an ice cream maker and freeze according to the manufacturer's instructions.
For a soft consistency, serve right out of the ice cream maker. For a firmer texture, transfer the frozen yogurt to a covered container and freeze for up to 2 hours. Serve with assorted toppings.

Wednesday, September 11, 2013

Olive Oil Ice Cream

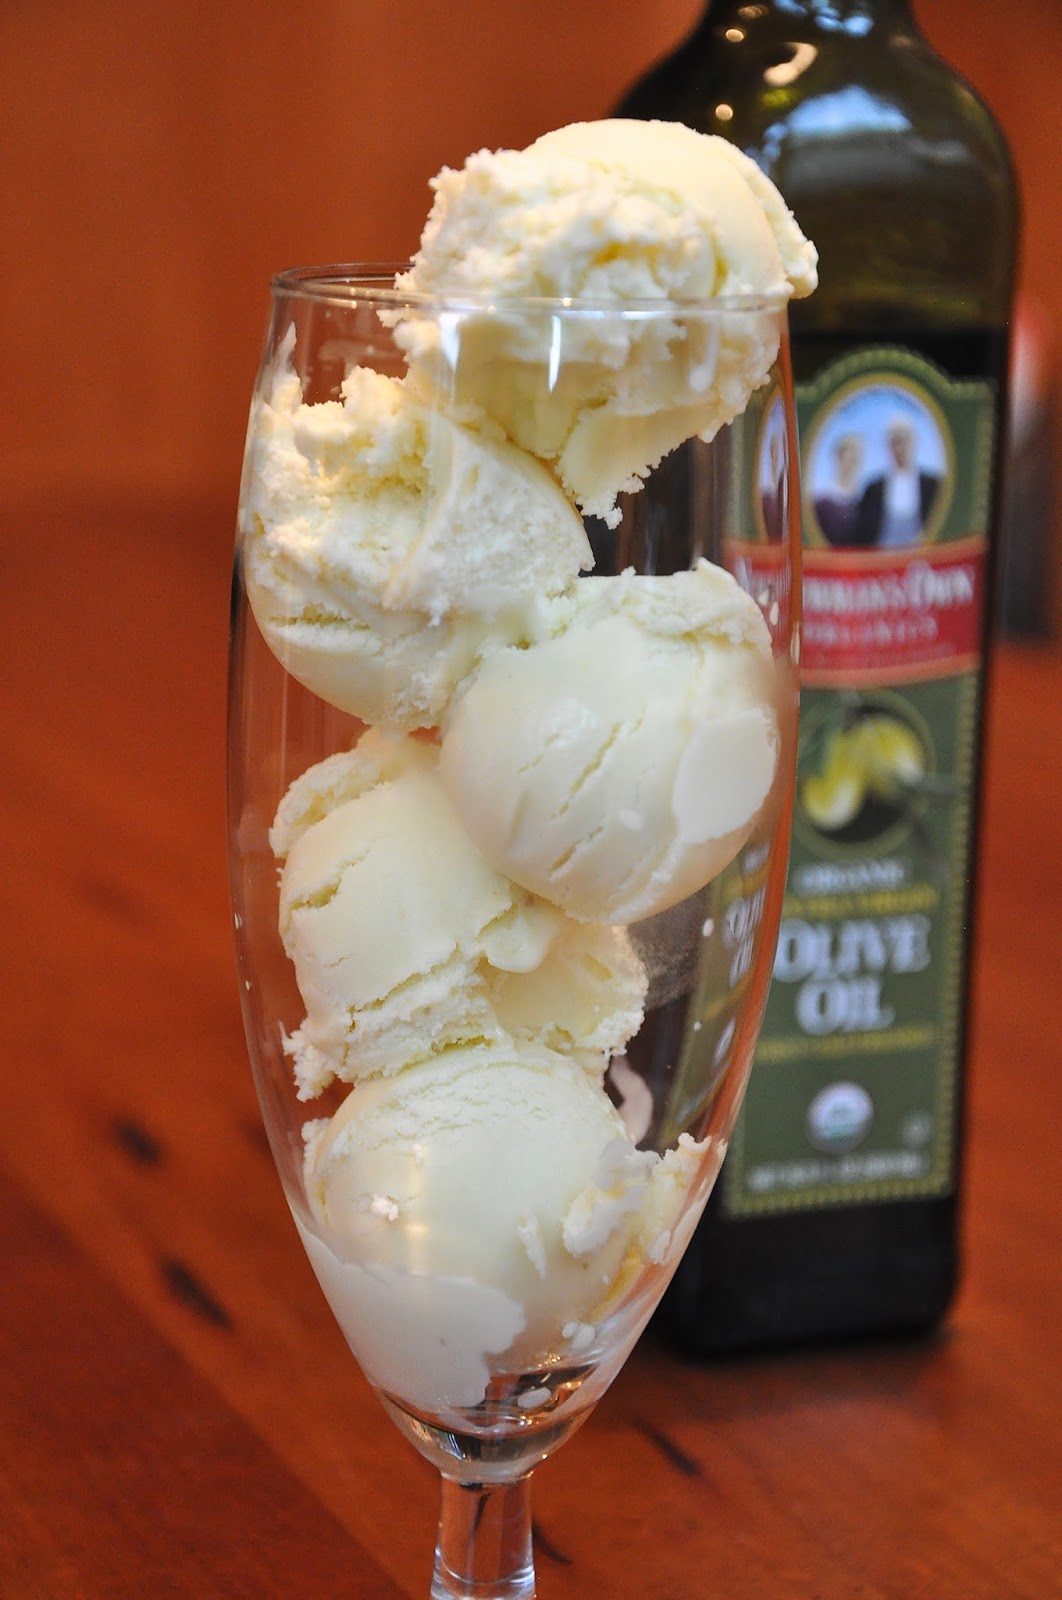
 When you think of ice cream, olive oil probably isn't the first flavor that comes to mind. Deep dark chocolate, light and creamy vanilla bean, sweet and sour strawberry - those are more likely. But I'm here to tell you that olive oil beats them all.
 This recipe basically replaces some of the cream in a classic ice cream recipe with olive oil. The oil not only adds a great creamy texture, but a lovely flavor. When you first taste it, you might not detect the olive oil, but there's definitely something wonderfully different about the ice cream.
 The oil adds a fruitiness and depth that I've never been able to achieve at home. (Shoutout to two awesome friends of mine who gave me an ice cream machine for my birthday!)
 This was perfect served alongside an almond plum tart (recipe to come!), but I think it would be great with any fruity dessert. Get ready to turn your kitchen into a 5-star restaurant!
 Or, if you're like me, you can forget to photograph the ice cream with the tart, so just pile a bunch into a beer glass and call it a day. Whether you then eat the entire five scoops is entirely up to you.
 I promise not to judge.
Enjoy!
Olive Oil Ice Cream

2 cups whole milk
1 cup heavy cream
5  large egg yolks
1/2 cup sugar
pinch of salt
1/2 cup fruity extra-virgin olive oil
2 teaspoons pure vanilla extract


Set a heatproof bowl with a strainer set over it ready for the cooked custard.
Bring the milk and cream to a boil in a large heavy saucepan.  In a large bowl, whisk the yolks and sugar together until very well blended and just slightly thickened.  Whisking without stop, drizzle in about 1/3 of the hot liquid - adding it slowly will temper the eggs and prevent them from cooking.  Once the eggs are acclimated to the heat, you can whisk in the remaining liquid a little more quickly.  Add the salt and pour the custard back into the pan.  Cook the custard over medium heat, stirring constantly.  The custard should reach at least 170 degrees, but no more than 180 degrees.  
Immediately remove the pan from the heat and pour the custard through the strainer into the bowl.  Discard whatever remains in the strainer.  Add the olive oil and whisk.  Stir in the vanilla.  The custard needs to chill before you churn it.  Chill it and scrape the custard into your ice cream maker and make according to the appliance instructions.

Monday, August 26, 2013

Teatime Lavender Cupcakes

 Lately I've been loving using herbs and teas in sweets. From earl grey ice cream to rosemary shortbread, the idea is all over - and these cupcakes are a great example. A while back, I bought a big bag of "culinary lavender" for these shortbread cookies, and I've been trying to find other recipes to use it up. I've had my eye on this one for a while, so I decided to finally try it out.
 These are the perfect way to infuse some flowery flavor into a baked good without making it seem like a bite of perfume. A little bit of lavender is ground up into the sugar, and then sprinkled on top (use a sprig of lavender to garnish if you have it). The icing was interesting because it's kind of a take on royal icing - just egg white and confectioner's sugar. It's very sweet, but in a thin layer it's a nice contrast to the cake.
  These are perfect with a cup of tea in the afternoon. Or for breakfast, because ya know... it's tea. Kind of.
   Enjoy!
Teatime Lavender Cupcakes
(from Cupcakes)

1/2 cup granulated sugar
1/4 teaspoon dried lavender flowers (safe for culinary use)
1/2 cup (8 tablespoons) unsalted butter, at room temperature
2 eggs
1 cup self-rising flour
2 tablespoons milk

1 1/2 cups confectioners' sugar, sifted
1 egg white
lilac food coloring
dried or fresh lavender, for decorating

Preheat the oven to 350 degrees F, then line a 12-cup muffin pan with paper liners.
Put the sugar and lavender flowers in a food processor and process briefly to combine. Tip the lavender sugar into a bowl with the butter and beat together until pale and fluffy.
Beat the eggs into the butter mixture, one at a time, then sift in the flour and fold in. Stir in the milk, then spoon the mixture into the muffin cups. Bake for about 18 minutes until risen and golden and a skewer inserted in the center comes out clean, then transfer to a wire rack to cool.
To decorate, gradually beat the confectioners' sugar into the egg white in a bowl, then add a few drops of food coloring and stir to achieve a lavender-colored icing. Spoon the icing over the cupcakes, then top each one with a sprig of fresh lavender (or a few bits of dried lavender). Let icing set before serving.
   -makes 12 cupcakes

Sunday, August 25, 2013

TWD Rewind: Cheese and Tomato Galette

 For a while now, I've been trying to get back into Tuesdays with Dorie. It can be annoying at times, often having other people choose what I should bake this week, but ultimately I find that it makes me try new techniques and recipes that I wouldn't have attempted otherwise. So, while I try to catch up, here's an old recipe I missed a few months back!
 Sometimes, the group's chosen recipes can even turn out to be unexpected favorites. Like this galette.
 I made it expecting something kind of boring - like a classed-up pizza. It turned out to be absolutely delicious - I made the crust with white whole-wheat flour, which made it a little more substantial, and it has a lovely crunch from the cornmeal in it. The cheeses mix together really well, and pair perfectly with ripe summer tomatoes.
 It's perfect for a summery lunch or a light dinner alongside a salad, and it will definitely be made all the time!
As always, the recipe can be found in Baking with Julia, or here.
Enjoy!

Friday, August 23, 2013

Fig and Almond Cake

 Sometimes you get to a place, and you know. You know that that place is special, and you have to be there. That one day, somehow, you're going to live there, and it's going to be amazing. This view of the city is skewed, sure, due to the fact that you're probably on vacation at the time, but the feeling is real all the same.
 That's exactly how I felt about Paris. When I was in Berlin and London a couple of weeks ago,  I loved the cities and thought they were beautiful. But when I got to Paris, something was different - it felt, somehow, like that was where I should be.
 Maybe it was the city's beauty, or the pastry school I visited where I was surrounded by young bakers like me for the fist time, or the meals out with some great people, or the hours spent walking around with no particular destination. Either way, it was perfect. And I need to go back.
 Coming back to New York has been a bit of a shock. It's been fun seeing friends, sleeping in my own bed again, and even getting ready for the start of the school year - but I miss Paris. I miss walking along the river at midnight on the way back from the Eiffel Tower, trying to learn phrases beyond "Bonjour!" and "Merci!" in French, and searching for the city's best bakeries.
 So until I can go to Paris again, I'm trying to bring some parts of that vacation into New York life. Yesterday, my friend and I walked 70 blocks through the city, from the financial district all the way up to midtown, to get used to it all again and see what tourists are so fascinated by. I've been spending time online, looking at more Parisian pastry schools and apartments for rent. Most importantly, I'm trying to recreate some of the wonderful food we had there.
As a way to ease myself back into the kitchen, I wanted something simple (before the eclairs I'm working on today...). My dad saw this recipe in the newspaper and begged me to make it for him - so I figured why not. And it was great.
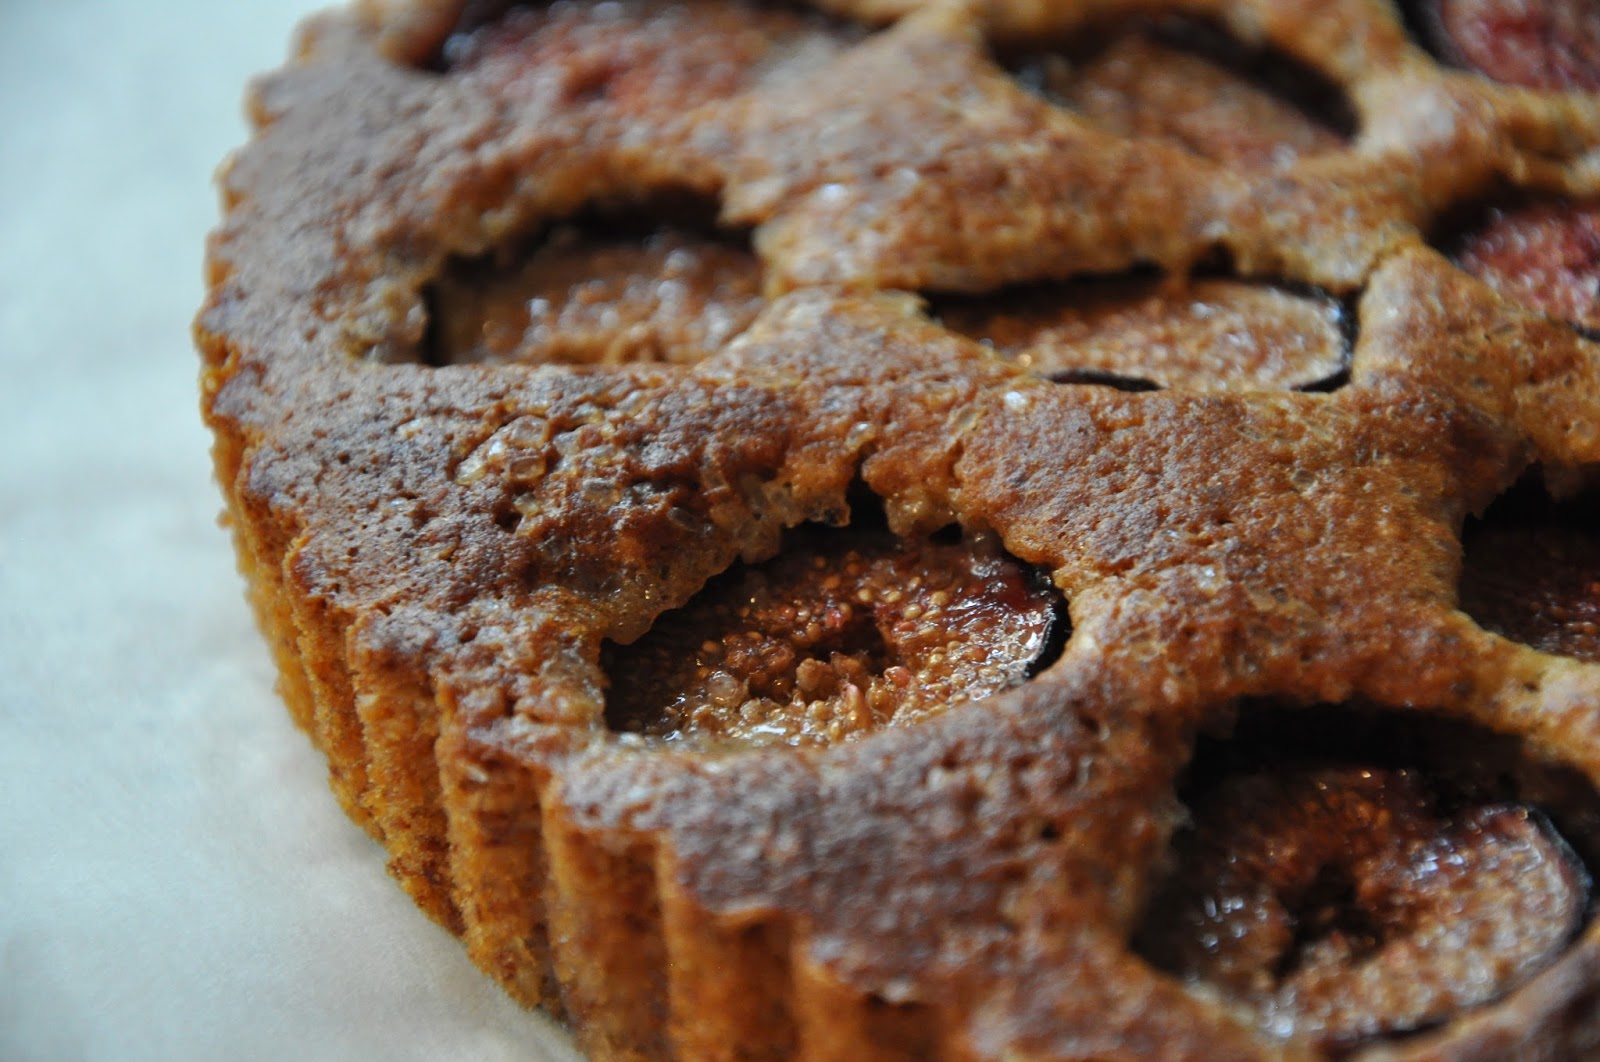
A moist almond cake, slightly crunchy from the almonds ground at home (don't skip this step), is studded with sweet, ripe figs sprinkled with sugar right before baking. The figs and sugar become almost jam-like, and this cake is just as delicious as it is lovely to look at.
So maybe I can't live in Paris. But I know that I can bring some of its great qualities into my own life, with the help of some sugar and maybe a lot of butter.
Enjoy!
Fig and Almond Cake

4 tablespoons butter, melted, plus butter for greasing pan
1 cup natural raw almonds (not blanched)
1/4 cup sugar, plus 2 tablespoons for sprinkling (I used sparkling sugar for sprinkling)
1/4 cup all-purpose flour
1/2 teaspoon baking powder
1/8 teaspoon cinnamon
1/8 teaspoon salt
3 eggs, beaten
2 tablespoons honey
1/2 teaspoon almond extract
12 to 14 ripe figs

Heat oven to 375 degrees F. Butter a 9" fluted tart pan or pie pan; set aside. Put almonds and 1/4 cup sugar in a food processor and grind to a coarse powder. Add flour, baking powder, cinnamon and salt; pulse to combine.
In a mixing bowl, whisk together eggs, melted butter, honey and almond extract. Add almond mixture and beat for a minute until batter is just mixed. Pour batter into pan.
Remove stem from each fig and cut in half. Arrange fig halves cut-side up over the batter. Sprinkle figs with sugar and bake for 30 minutes, until golden outside and dry at center when probed with a cake tester. Cool before serving.

Thursday, August 22, 2013

Tastes of Paris

I just got home from 3 and a half wonderful days in Paris. I was so busy trying to pack in a million different things into those days that I didn't have any time to post, but here are just a few of the sweet moments from the trip.

Our first view from the bridge near the apartment 
Eric Kayser's famous "cereal bread"
The Eiffel Tower glittering at night
Shakespeare & Co (where I bought my first "Mastering the Art of French Cooking")
Pastries at Angelina
L'As du Fallafel, of course
"Breakfast" from Ladurée, eaten by a lovely pond before going to the L'Orangerie museum. 
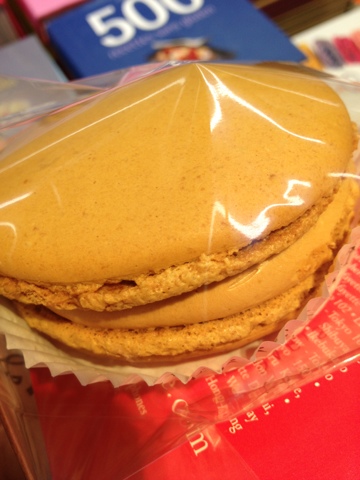
A giant Pierre Herme macaron for comparison (we liked Ladurée's better)
View from the Arc de Triomphe
Quite a bit of pastry supplies shopping that almost made my suitcase explode
Maison Stohrer's famous "love well," a pastry cup filled with vanilla cream which is then brûléed. 
Fouquet's dark-chocolate-covered marshmallows 
Pastries from Lenôtre
A little "chocolate tour" we went on
Patrick Roger (M.O.F.) makes beautiful chocolates that look almost like marbles. 
Puyricard's lovely boxes of chocolates
Those were insanely delicious (as were Maison du Chocolat's "rigoletto noir"). 
Pastries and super rich hot chocolate at Carette...
A pain au chocolat and my first choquette. 
I had been to Paris when I was 8, but I was too young to appreciate it. This trip made me fall totally in love with the city, and I can't wait to go back as soon as possible. 
We spent a lot of time doing my little pastry tour, as you can see- I wanted to try as many of the famous bakeries and treats as possible! We also did a bit of sight-seeing, and a lot of walking - we basically walked all day, every day. I still can't believe how much we squeezed into a long weekend. We also took an afternoon to look at Le Cordon Bleu Paris, which was impressive and is definitely being looked at seriously by my parents and I... But more on that later. :)