Showing posts with label special orders. Show all posts

Tuesday, October 7, 2014

FutureChefs!

Well hi there. Sorry for the temporary absence - I've had a busy few weeks with a variety of music-related things, but not to worry, recipes will be back soon...
Anyway, I have news. Big news. Crazy fun news.
Sophia's Sweets is in a book!!
FutureChefs is a compilation of 150 recipes from young chefs all over the world. I just received my copy yesterday, and it's a beautiful collection of photos and mouth-watering recipes, in addition to fun profiles on each chef.
My recipe is for the cookies pictured on the cover of the book - an indulgent variation on these old favorites, involving Nutella and raspberry jam. There's also a picture of me in front of my house, and one of my hands sifting sugar - super fancy y'all. (Actually, having a photographer come to my house to take pictures of me making cookies was one of the craziest "pinch me" moments ever.)
Anyway, the book is now available online! And, we will be having a little "Twitter party" with a bunch of the chefs sometime next month, where you can ask us questions and enter for a chance to win a copy of the book. Details to come!

Order your own copy here! The perfect gift for foodies of all ages. :)

Friday, May 2, 2014

From New York to New Orleans!

instagramming cakes all day every day
 There are a lot of great aspects to baking for events. For me, it's a ton of fun to go back and forth with whoever is throwing the event and figure out the perfect desserts for the occasion (and in the case of cakes, how best to flavor and decorate them). I think that the greatest part, though, is getting to feel like in some small way, I'm helping somebody celebrate. Last year, I had a sweet sixteen, and while the bakers who made the cupcakes, the people who set up the chairs before guests arrived, and the DJ's assistant weren't there during the party, they were all a part of my celebration in some way. So, I like to think that even though I'm not at some of the events my cakes go to, I'm actually contributing a little bit to their fun.
  My friend's dad is a caterer, and a few weeks ago, he asked me to make cakes for a dinner he was cooking for; it was for a couple who was moving from New York to New Orleans. They wanted three cakes centered around the theme of their trip, somehow tying in the NOLA flag and Mardi Gras colors, but the rest was basically up to me. We played around with some flavor combos, and one long night later, I had three pretty cute cakes.
Given that they were leaving New York, I figured the big city had to be represented in some way. There's nothing more symbolic of here than the "I Heart NY" logo, so I traced white chocolate shapes and painted them with gel food coloring.
 This cake was the most interesting of the three in terms of flavor - it was made up of layers of spice cake, filled with Meyer lemon curd and frosted with vanilla buttercream (as were all of the cakes).
The next cake was supposed to represent the flag of New Orleans. I'm all for gold accents, so I kept the borders simple and used edible spray paint and glitter to glam up the white chocolate fleur-de-lis. This was definitely my favorite of the three cakes!
Flavor-wise, this cake was pretty simple, but I'm sure it was also the most popular; it was a chocolate cake with whipped bittersweet chocolate ganache filling layered with fresh strawberries.
The final cake was so much fun to make. All I was told was to include Mardi Gras colors, and the rest was up to me; so I made more white chocolate shapes, this time a crown and two eye masks, and painted them gold. I sprayed the entire cake with edible purple spray paint (seriously, this stuff is awesome), and threw in a bright green border to make it pop. The cake flavor was pretty simple, but it was a yummy combination: vanilla cake with a mixed berry cream filling.
  I'm still learning when it comes to cake decorating, and there's a lot that could be improved about these, but I had a great time making them. It's easy to get totally wrapped up in this kind of thing, and although I don't even know the names of the couple, I'm so glad I got to be a little part of their goodbye! 

Wednesday, October 23, 2013

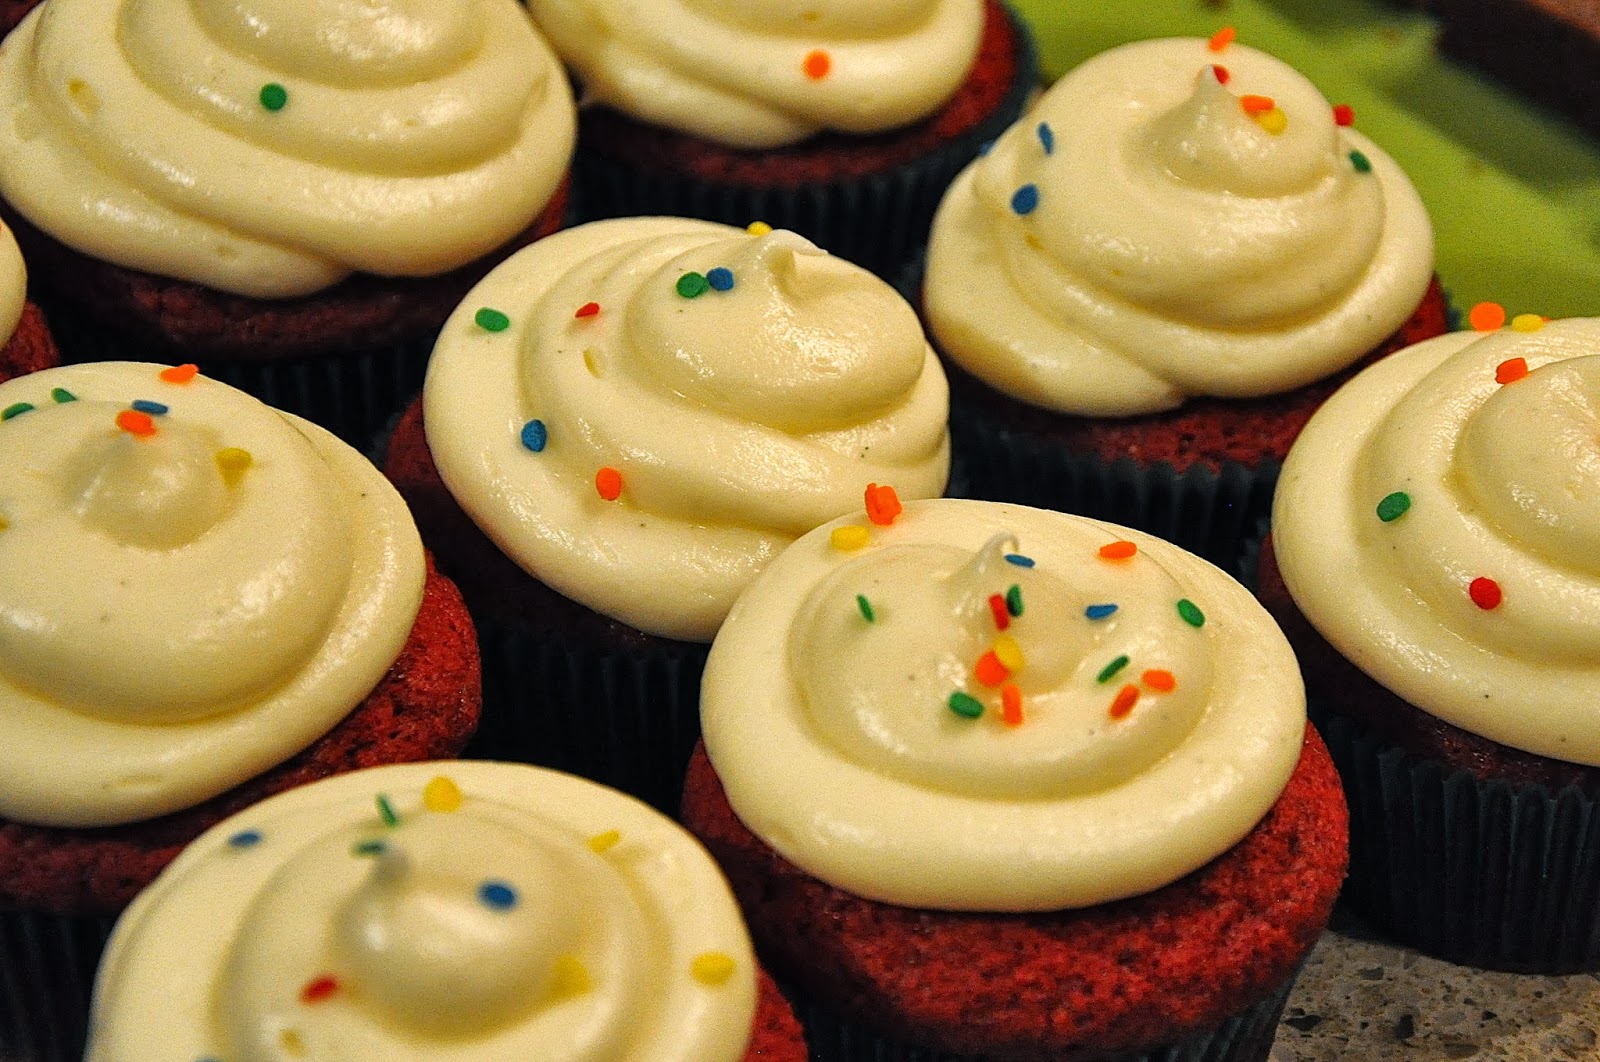
Classic Red Velvet Cupcakes with Cream Cheese Frosting

 Being interested in a career in the culinary world, it's often easy to get caught up in all of the new, inventive flavor combinations and techniques. My favorite thing to do is add my own twists to classics, but this week I was reminded that sometimes it's important to go back to basics!
 I got an "emergency" phone call one night last week, from a friend of my cousin's, who needed a last-minute box of goodies for her boyfriend (a certain unnamed cookie company messed up her bouquet order delivery date). With the liberty to fill a box with whatever I thought he would like, plus the excitement of an early-morning delivery of a box of sugar to the gym where he works, how could I say no?
I made my choices pretty quickly - this guy likes chocolate, so brownies (salted, of course!) were a given; and who doesn't like peanut butter? Cookies it was. I wanted something additional that screamed "birthday," so I decided to go with a classic, rainbow-sprinkled red velvet cupcake. Until I realized I didn't have a go-to recipe!
  I went back to a few different recipes I've used as a basis for variations in the past (did you know red velvet cake and orange marmalade are a match made in heaven?!), and was able to find a great one I hadn't made in years. It's my favorite, and I think it's a wonderful go-to.
 The cupcake is tender, fluffy, and not too sweet. The frosting provides a great sweet touch, and is the perfect consistency for spreading or piping simply (if you want to get crazy with the decoration, just add in a little extra sugar to get a thicker mixture). So, emergency missing recipe crisis averted - on to the next twist!
  Enjoy!
All packed and ready for delivery!
Classic Red Velvet Cupcakes with Cream Cheese Frosting
(from Food Network)

Cupcakes
2 1/2 cups all-purpose flour
1 1/2 cups sugar
1 teaspoon baking soda
1 teaspoon salt
1 teaspoon cocoa powder
1 1/2 cups vegetable oil
1 cup buttermilk, room temperature
2 large eggs, room temperature
2 tablespoons red food coloring
1 teaspoon white distilled vinegar
1 teaspoon vanilla extract

Preheat the oven to 350 degrees F. Line 2 (12-cup) muffin pans with cupcake papers.
In a medium mixing bowl, sift together the flour, sugar, baking soda, salt, and cocoa powder. In a large bowl gently beat together the oil, buttermilk, eggs, food coloring, vinegar, and vanilla with a handheld electric mixer. Add the sifted dry ingredients to the wet and mix until smooth and thoroughly combined.
Divide the batter evenly among the cupcake tins about 2/3 filled. Bake in oven for about 20 to 22 minutes, turning the pans once, half way through. Test the cupcakes with a toothpick for doneness. Remove from oven and cool completely before frosting.

Cream Cheese Frosting
                                                        1 pound cream cheese, softened
                                                              2 sticks butter, softened
                                                             1 teaspoon vanilla extract
                                                          4 cups sifted confectioners' sugar

In a large mixing bowl, beat the cream cheese, butter and vanilla together until smooth. Add the sugar and on low speed, beat until incorporated. Increase the speed to high and mix until very light and fluffy.
Spread or pipe onto cooled cupcakes. Decorate as desired.

Thursday, May 23, 2013

A Millenium Falcon Birthday

     I don't talk about it too much, but I do get orders for various baked goods every now and then. Lately it's been happening more often, which is exciting, both for me and for my obsession with clothing and high heels! And my ever-growing collection of cook books ;)
     A few weeks ago, my mom's friend emailed me about a cake for her son's party. He was turning four and had decided that he really wanted a cake shaped like the millenium falcon from star wars. I said of course I would make it, and although it was supposed to be ready two days after my AP exam, I figured those two days would give me plenty of time.
    And then I looked up a picture of the millenium falcon.
     When I heard the name, it rang a bell - this was that rocket thing from Star... something... right? I had no idea this was what it looked like, and when I realized I had just agreed to make a cake that looked like it, I may or may not have squealed and looked at my friend in shock in the middle of a history study session.
      I knew I couldn't make anything like what some of these crazy cake bakeries make - besides not having the skill, even with all the practice in the world I wouldn't have the equipment necessary at my house. I decided to go with a simple, slightly cartoon-ized version of the ship, and (after checking that this was OK with the boy's mom!) got started as soon as my AP was over!
     It ended up going pretty smoothly - the round part was made of two 9" cake layers, and I baked up two 9x13" layers and carved them to make the wing things and little bumps on top (what are these? somebody who knows Star Wars, help me?). It was a chocolate cake filled with a layer of delicious dulce de leche buttercream filling.
     Start to finish, this took about four hours (and probably would have taken less time had I been more awake, seeing as how I started at 11 pm). If you want proof, just check out my 3 a.m. Instagram cake shots ;)
     I was so happy to have had my first ever sculpted (if you can call this sculpted) cake come out as planned. I hear the birthday boy loved it! Although, let's be real, when I was four, I would have much rather have had a princess barbie cake... as much as they scare me now.
all packed up, along with a hundred brigadeiros
Happy birthday Liam!!